Kitting a Capture Fleet: What Goes in Every Box
A field-ready kit is more than a camera in a case.
Picture a collection site on its first morning. The people are ready, the tasks are agreed and the cameras have arrived. Then someone discovers that the chargers do not fit the local sockets and two kits are missing the mount used in training.
That is a kitting problem. It sits between procurement and recording, and it is easy to underestimate. A complete, tested box gives an operator a clear starting point. An almost-complete box sends them searching for parts when they should be checking the first recording.
Build one reference kit first
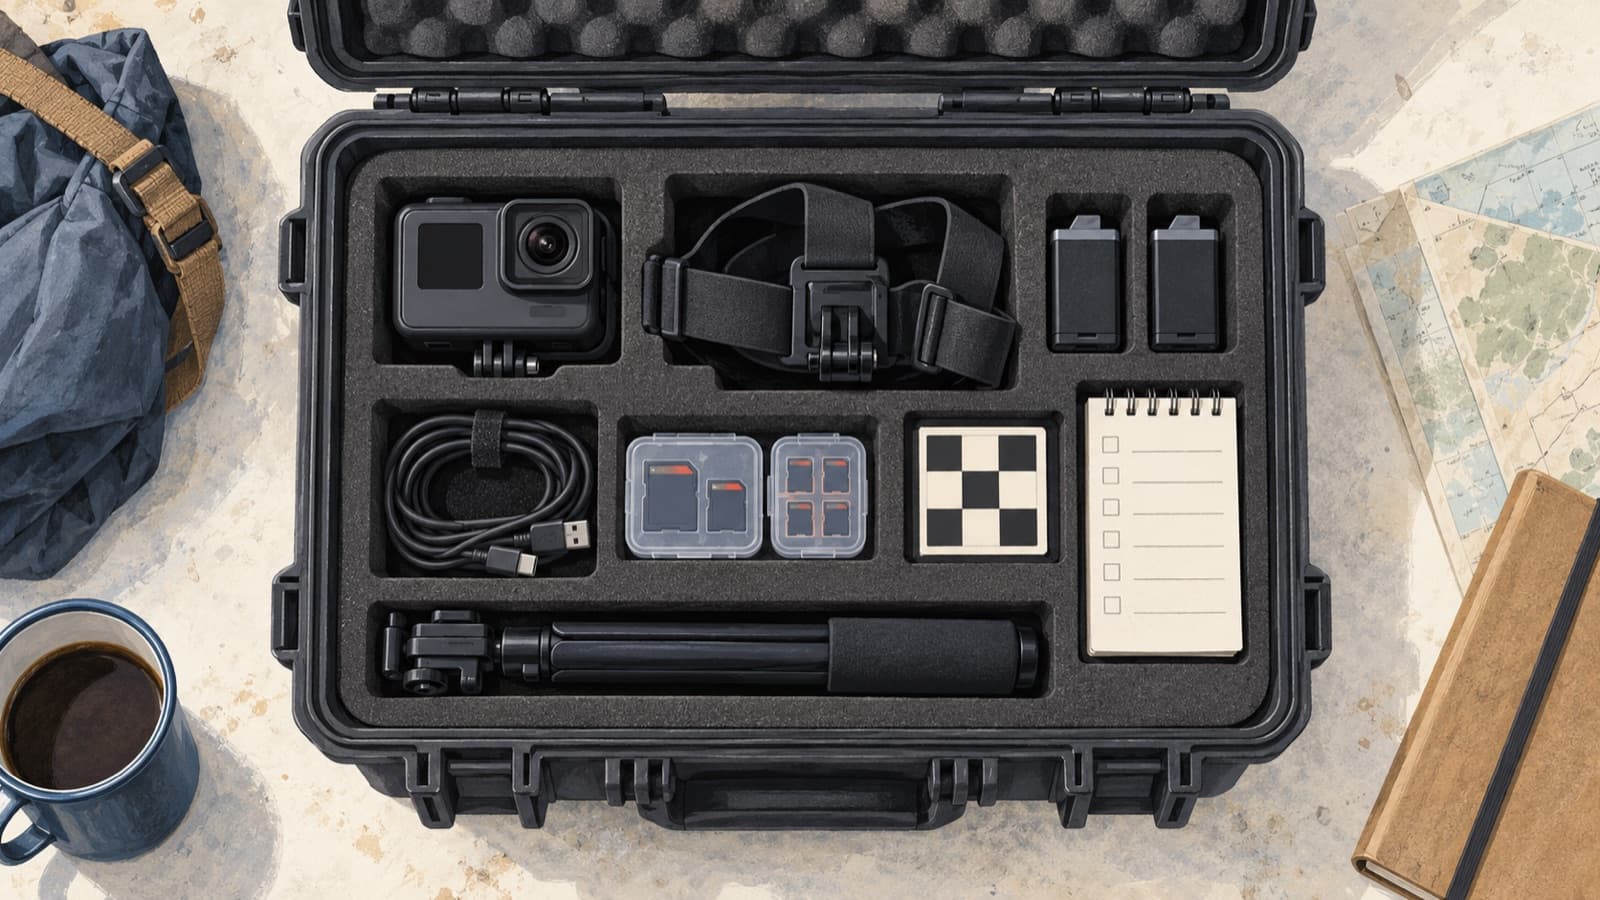
Before packing a fleet, assemble a reference kit that has passed the pilot. Record every item, its specification and its quantity. Photograph the layout and give the kit configuration a version number.
Use that record to pack and check the remaining boxes. Standardized kits make differences easier to investigate, although identical equipment does not make recordings identical: fit, settings, lighting and task execution still matter.
If sites need different plugs, mounts or accessories, document those variants. A deliberate site-specific kit is fine. An unexplained mixture of parts is harder to support.
Pack the recording system
Start with the parts needed to capture the agreed signal:
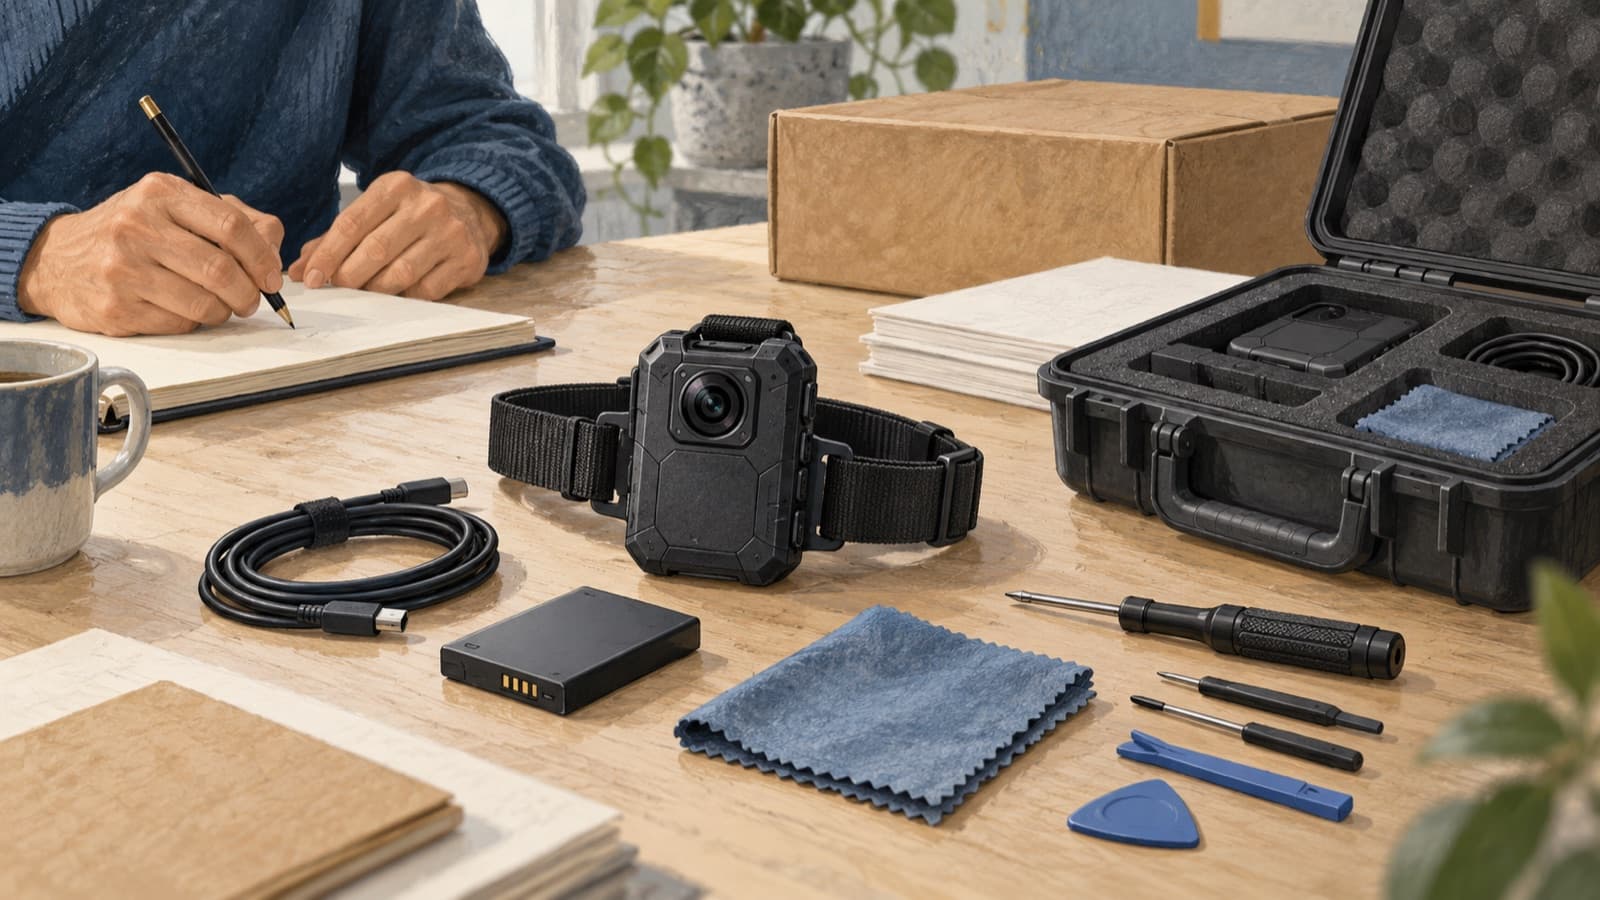
- The approved camera or sensor assembly, with its device identifier.
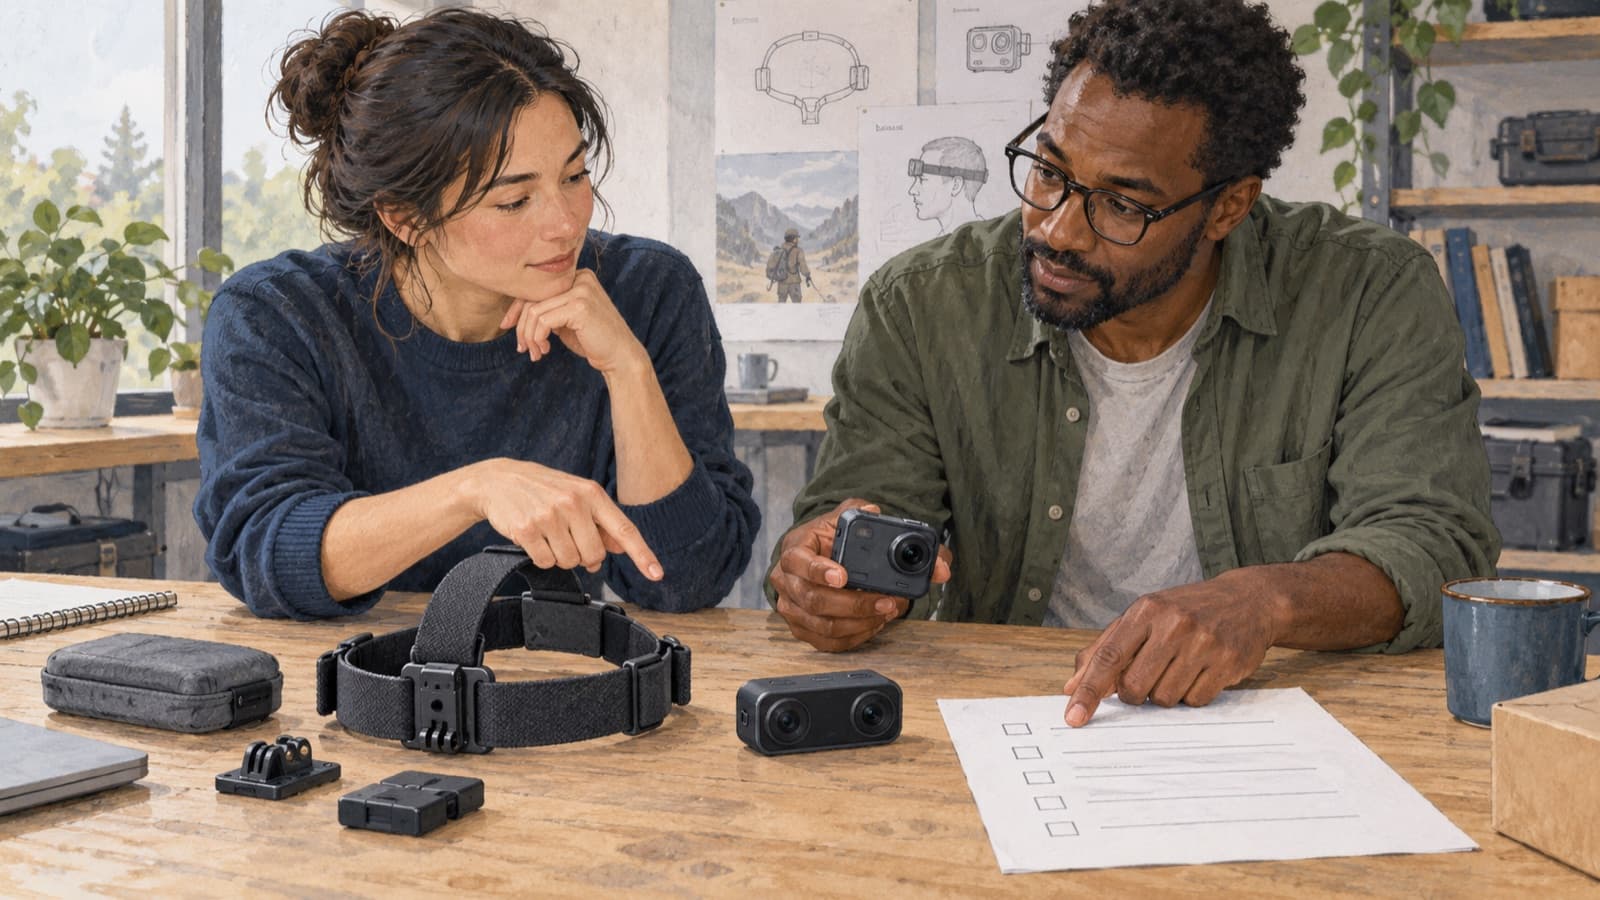
- The tested mount, straps, fasteners and any required adapters.
- The specified storage media and a suitable reader, where applicable.
- Batteries, charging equipment and the cables required for the planned recording cycle.
- Any recording computer or controller, with its approved software configuration.
Check compatibility at the item level. Two cables with the same connector may not support the same data rate. A storage card that works for a short test may not suit a long recording in the selected mode. Validate the combination rather than the appearance of the parts.
Include the tools needed to check the data
The kit should help people notice a problem before a full session is lost. Include the items required by your chosen checking procedure, such as a calibration target, a lens cloth and instructions for a short test recording.
Explain what a pass looks like. The operator should know how to confirm the expected view, recording mode, free storage and power level. Where multiple streams are required, the check should establish that those streams were actually captured.
Calibration assets need their own traceability. Project Aria’s calibration tools provide one example of retrieving calibration information from recorded data. Other systems use different methods; your checklist should name the method and files relevant to your equipment.
Make the instructions usable on a busy morning
Put a short setup guide in the box, backed by fuller documentation. Use clear photographs of the actual kit configuration and number any steps that must happen in order.
The first page should answer a few ordinary questions: what goes where, how do I know it is recording, what do I do after the session, and who can help if the check fails?
Include a troubleshooting route that lets someone stop and report an issue. An operator should not have to invent a new recording mode to keep a session moving. Log substitutions and changes so the receiving team can identify affected files.
Choose spares from likely failures
A spare cable can be more useful than an extra camera when cables are the part that fails. Use pilot observations, replacement lead times and the consequences of downtime to decide what belongs in each box and what stays in a shared spare pool.
Separate consumables from service parts. Track when batteries, straps or mounts need inspection or replacement. Keep damaged parts out of circulation until someone has assessed them.
Avoid treating “we have a spare” as the end of the plan. Someone must know where it is, whether it is configured and how a swap will be recorded.
Test, pack and sign off
Before sealing a box, run the setup that will be used in the field. Record a sample, transfer it through the planned route and check that the receiving tools can open it. Confirm identifiers, settings and required metadata against the manifest.
Then pack against the reference checklist. Record who checked it, when and which configuration was approved. Keep the manifest accessible to the site coordinator as well as inside the box.
For shipping, confirm current carrier requirements for batteries and equipment on the actual route. On arrival, check for damage and missing items before scheduling production. At the end of a deployment, reconcile what came back and handle any stored recordings through the agreed data-retention process.
Make the box part of the data workflow
A kit is ready when someone can use it, check the result and hand over the files with a reliable record of what happened. That is a more useful milestone than “all cameras shipped.”
Guardian provides data gathering and annotation for physical AI. Agreeing the capture checks and annotation requirements together helps the team decide what every kit must support before collection begins.